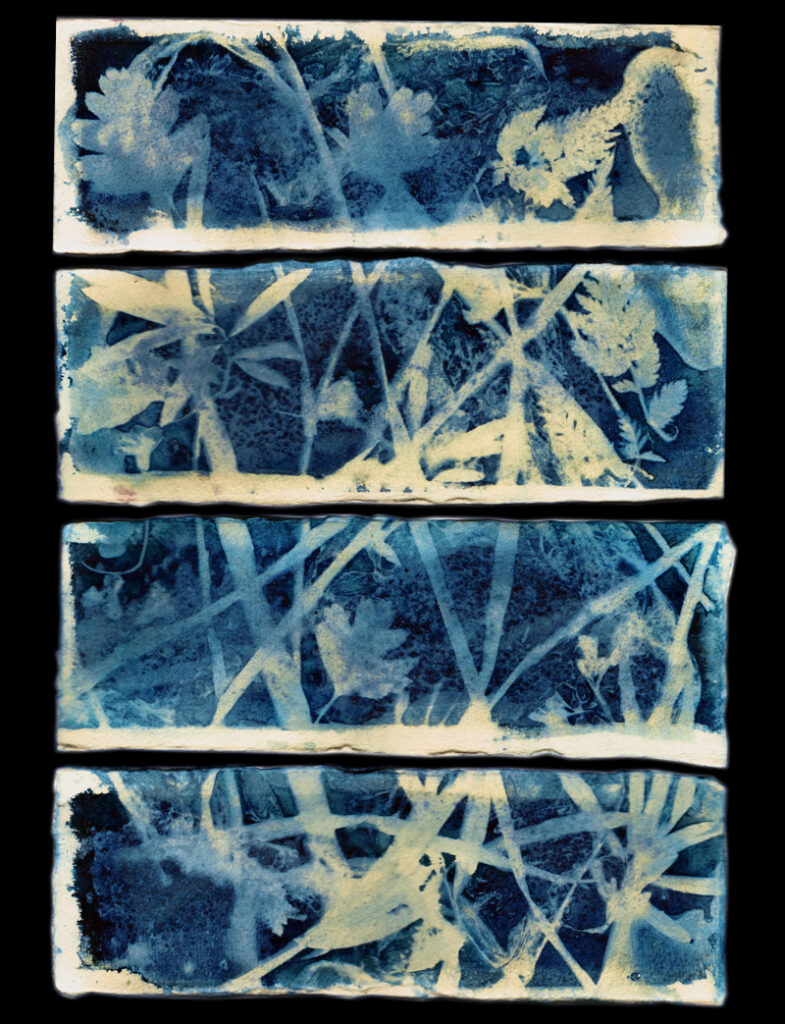
We’ve been using the Lockdown to make a lot of photograms and one of the processes we’ve been experimenting with is the Wet Cyanotype process. A forgiving process that as much resembles the plot of George’s Marvellous Medicine by Roald Dahl as it does the more technically demanding alternative processes, Wet Cyanotype is a great opportunity to literalise the phrase everything but the kitchen sink.
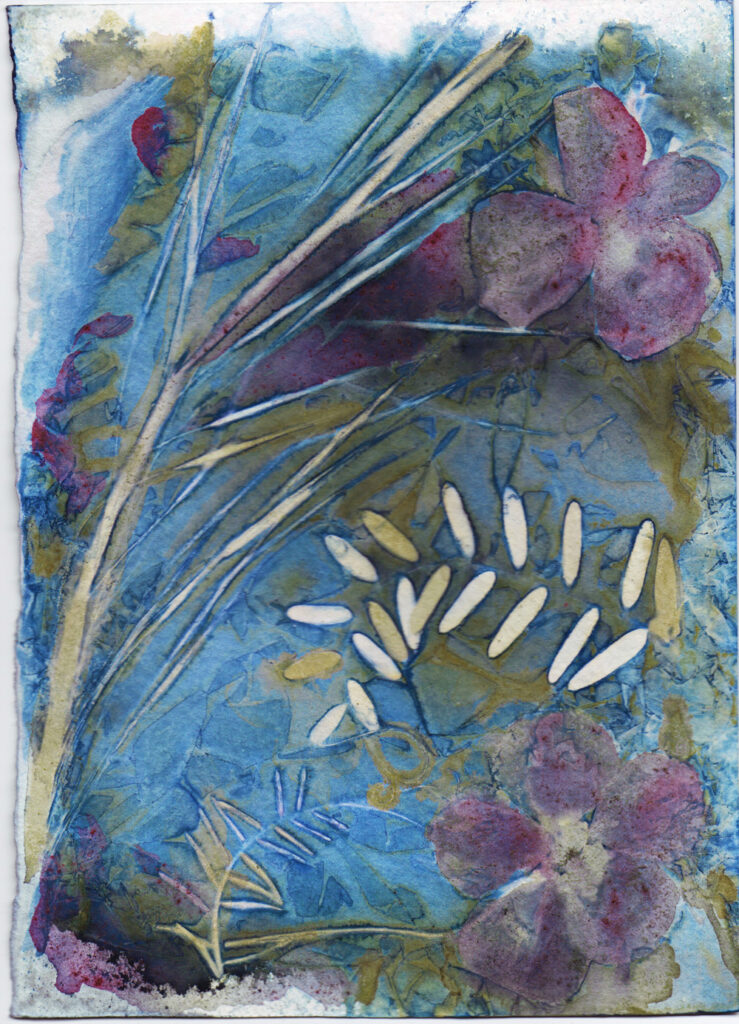
The process starts out the same as normal cyanotype: coating the paper with cyanotype solution in a darkroom environment (or at least a room with heavy curtains/blinds pulled shut). After the cyanotype paper has dried, the fun begins. For this next step, you will need a a spray bottle filled with ordinary water and a range of kitchen chemicals and ingredients. You can use turmeric, chilli powder or other colourful spices, lemon juice, white wine vinegar, bicarbonate of soda, salt, various cleaning sprays, citric acid crystals, dish soap bubbles or even a spray of home-made anthotype solution (we made various versions with dandelions, summer berries and leaves to produce yellow, red and green hues).
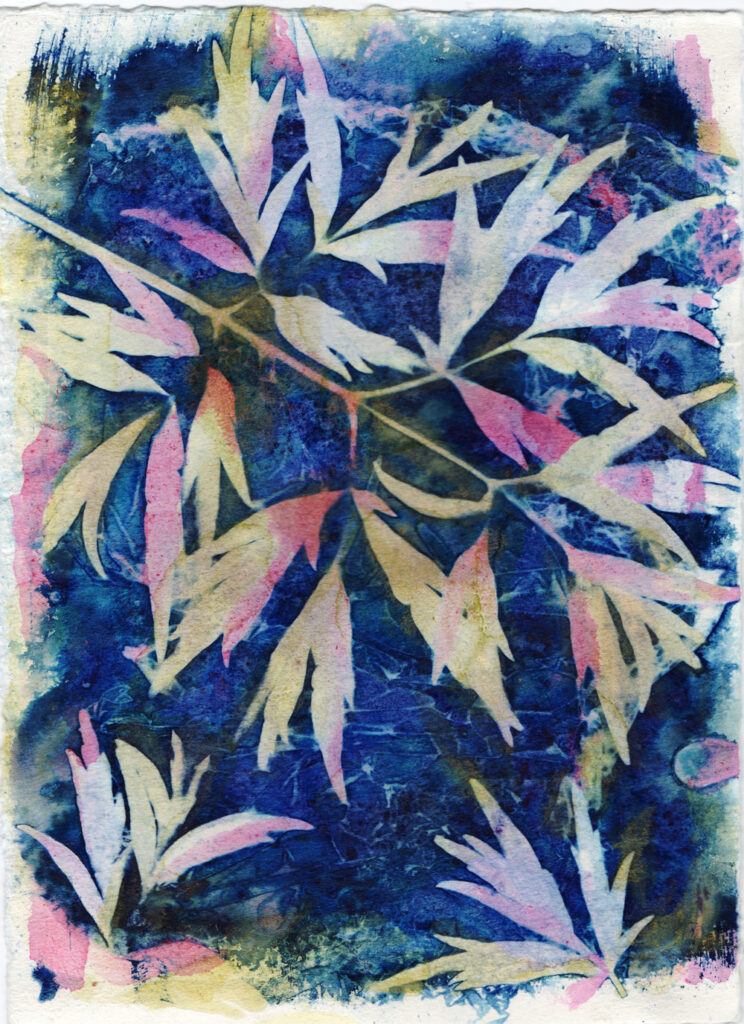
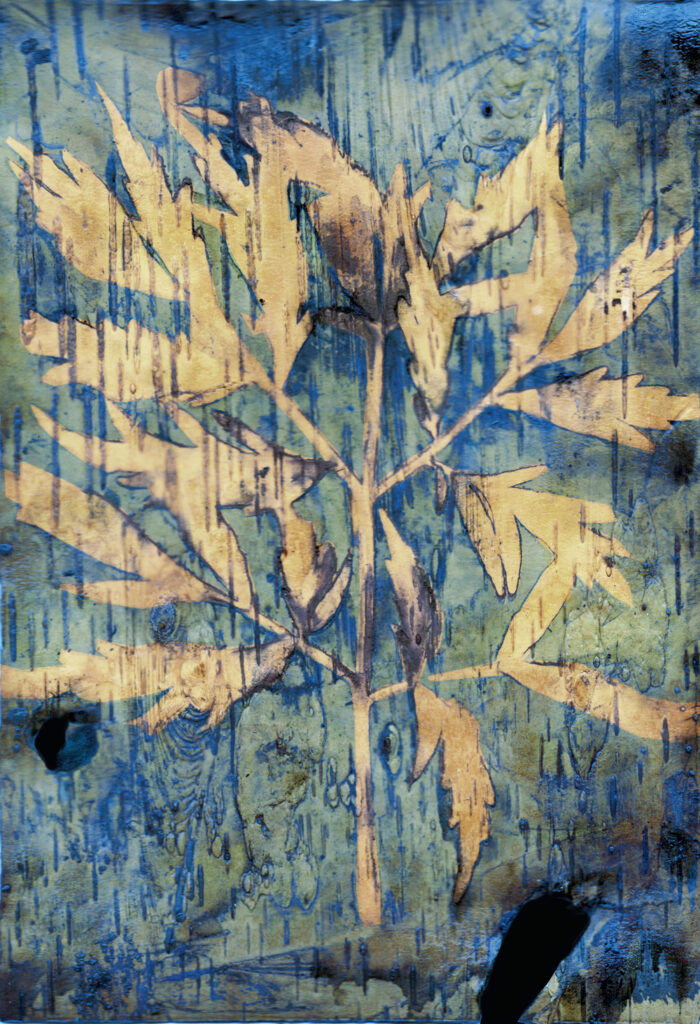
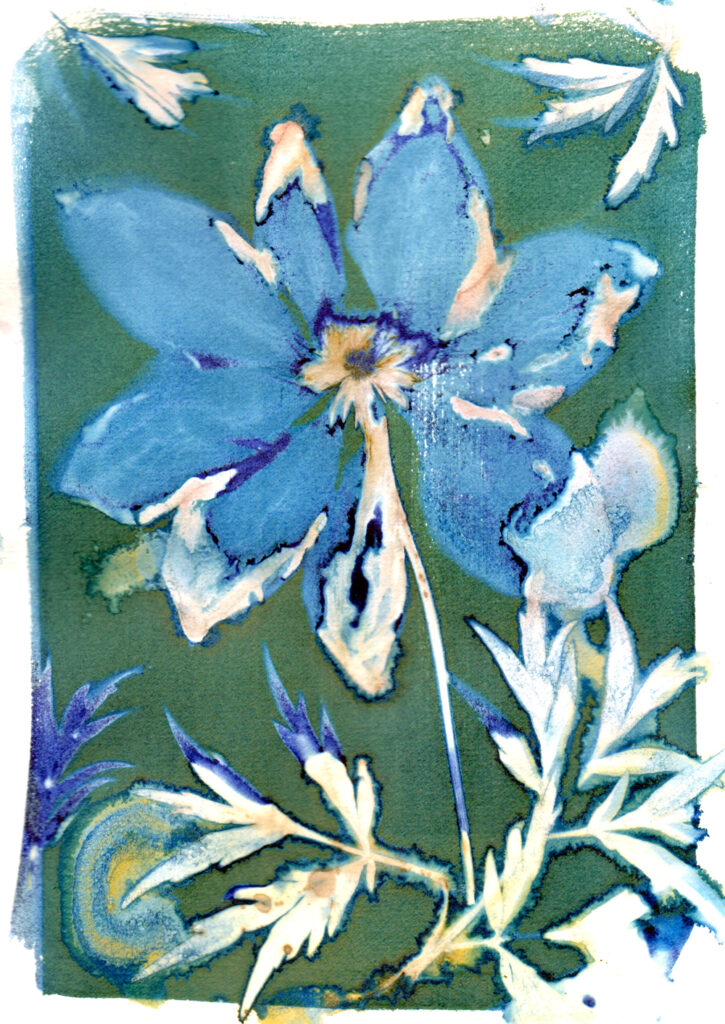
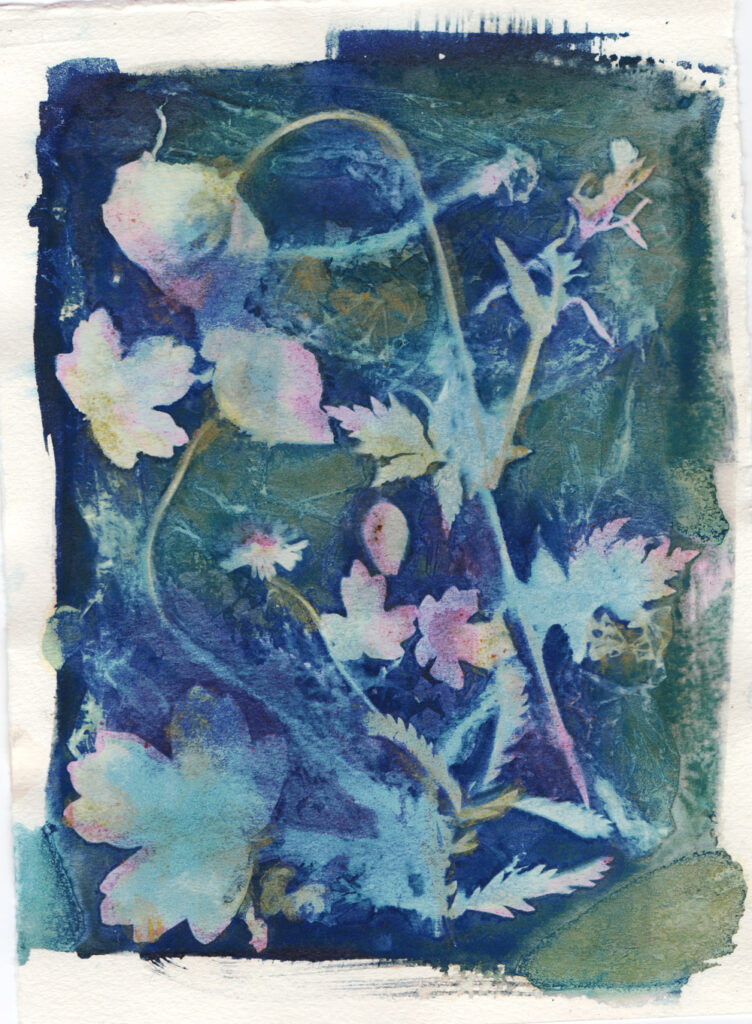
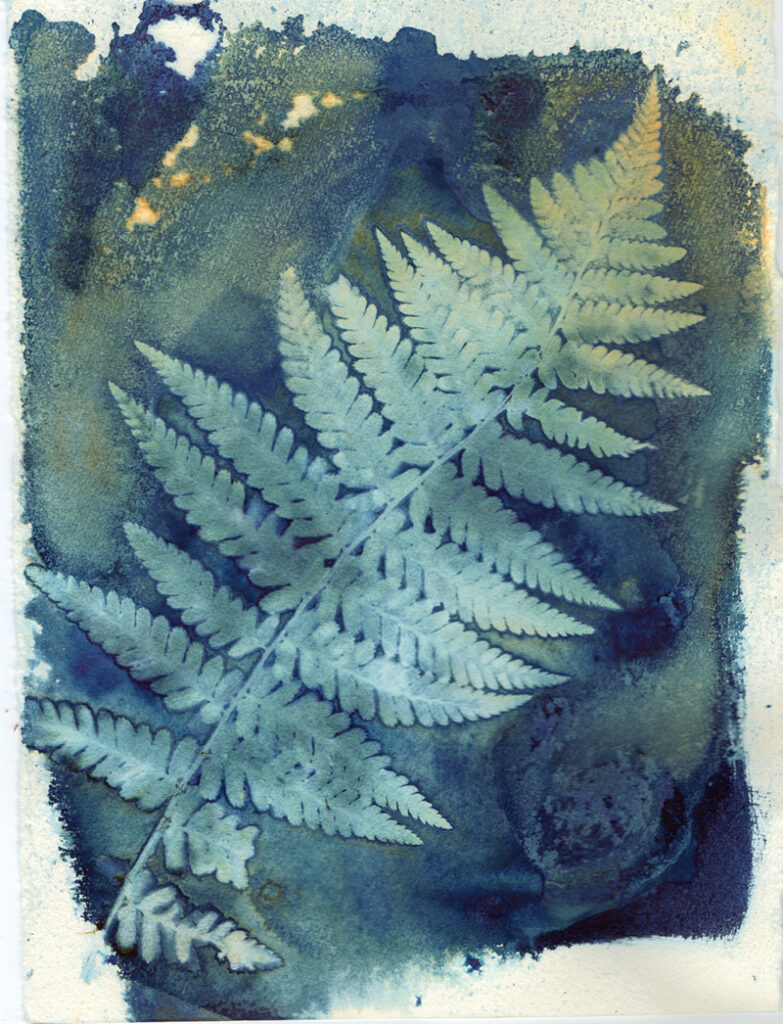
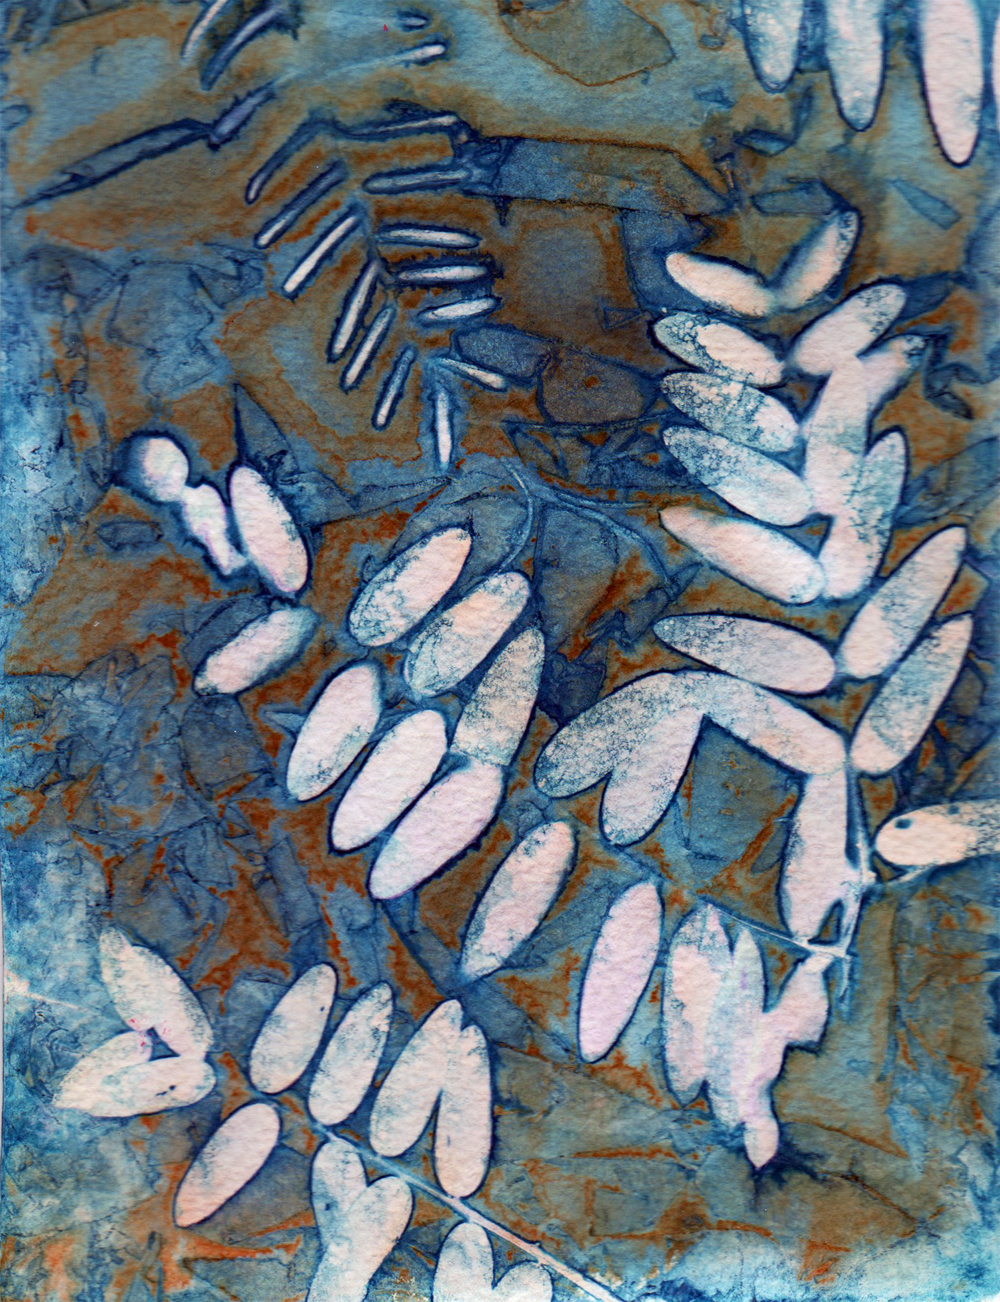
Once you have decided on your composition of leaves/flowers/feathers etc., spray your cyanotype paper with water and add a shrinking of your chosen substance. We found that limiting oneself to one or two additives led to better results. After you have added your plant or chosen object, add another spritz or sprinkle of water and the chosen substance(s) on top of the object, before placing a layer of crumpled cellophane. Top with glass and clip in place, as you would with a normal cyanotype and leave in the sun for an hour or so, checking every so often for signs of development. When the visible paper is light brown and looks dry, you can wash the wet cyanotype, although some people leave their wet cyanos to develop for much longer than this (10 hours, or even overnight). Below are some examples of our recent wet cyanotype work: