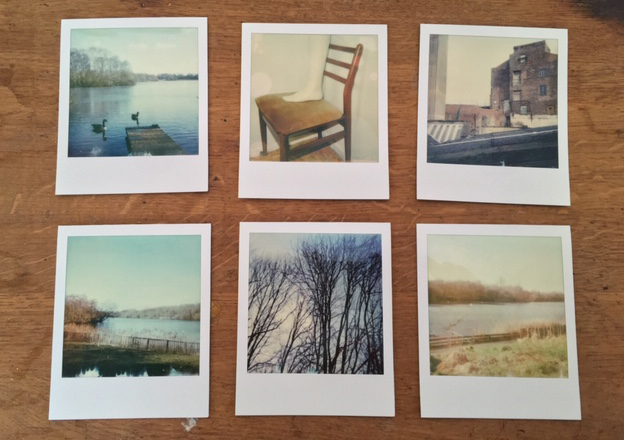
Over the last few months, we’ve been taking a lot of Polaroids with both Polaroid 600 and Polaroid SX-70 cameras. We’ve made most of these into emulsion lifts, a process which seems fiddly and surprisingly time consuming at first (if not a little maddening!). But, with a few tweaks and a bit of practice, the emulsion lift process becomes simpler and a lot more fun then one would imagine based on initial efforts. If you are thinking of trying emulsion lifts for the first time, you will need the following:
- Polaroids between 48 hours and 10 days old
- High quality paper, cut to the right dimensions for your image
- A scalpel, sharp scissors or Stanley Knife
- One or two developing trays
- Warm water (hot to the touch, but not boiling)
- A couple of fine, soft brushes
We’ve read a lot of different instructions for this process, both in books and online and would recommend watching this instructional video by Analog Things before embarking on your lifts. The video provides practical solutions for a lot of the common problems (emulsion not peeling; emulsion layer tearing; centering the emulsion on the paper).
Through trial and error, we’ve also found that it’s best not to try and lift your polaroid until it’s a couple of days old or after it’s about 10 days old. Too early and you will struggle to lift the emulsion layer without destroying it, due to the chemicals not having set. Too late and you will struggle because the emulsion will have dried out too much. Below are some images of the steps we used to make our first emulsions lifts:
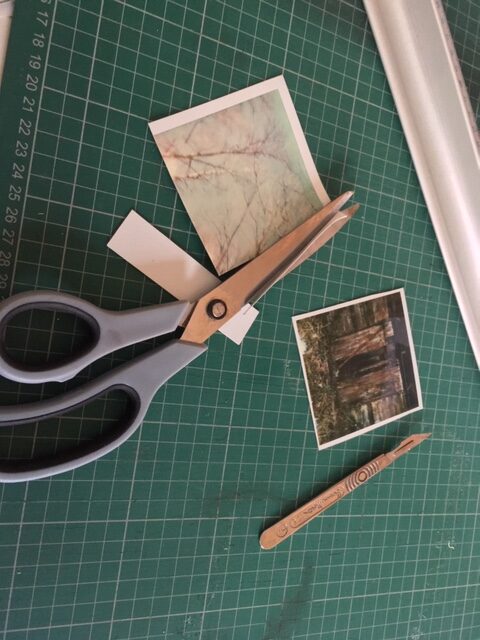
Use scissors/scalpel to cut off white polaroid border. 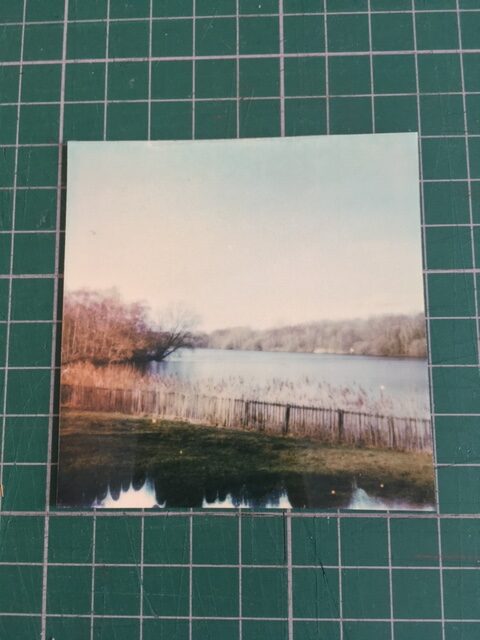
Polaroid with border trimmed. 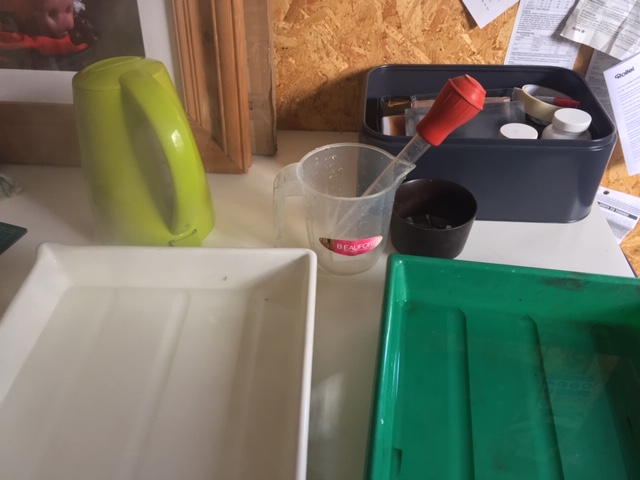
Pour hot (not boiling) water in a tray. 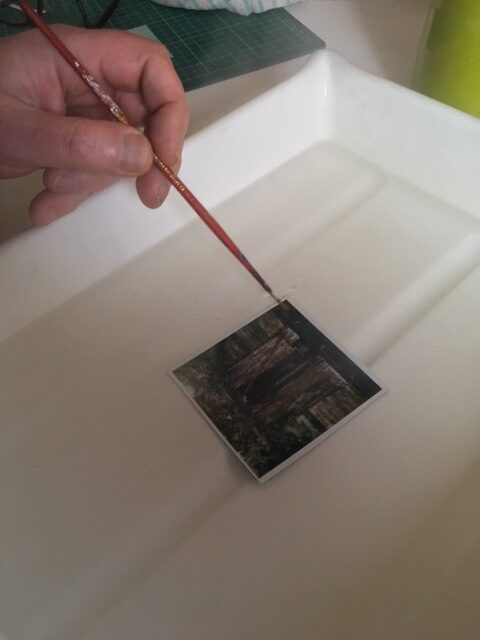
Place polaroid in tray and leave for 10 mins – 1 hour. 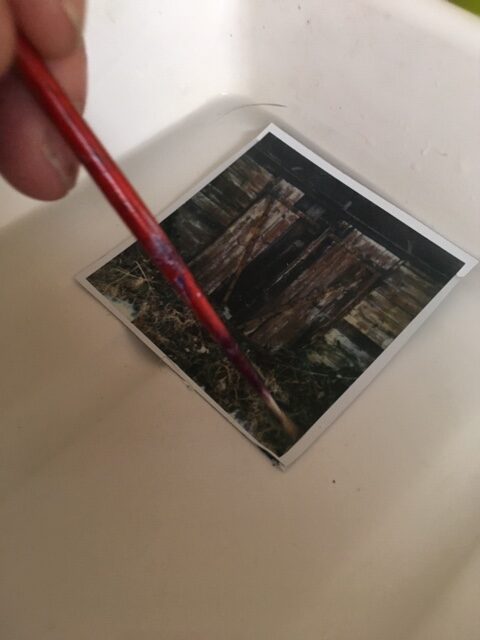
Use fine brush to lift corners. 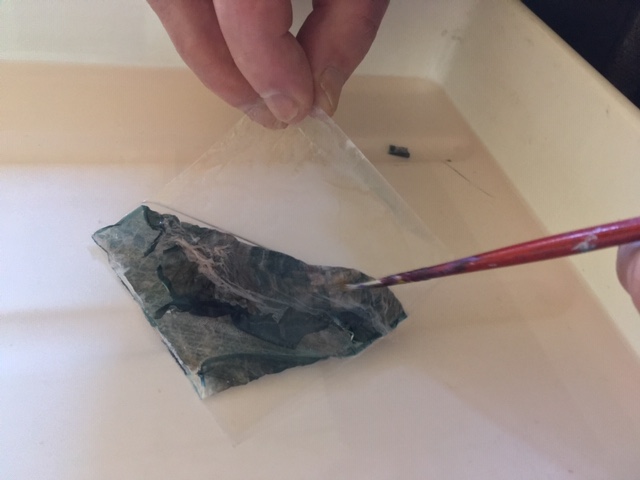
Slide emulsion from plastic layers.
Once the emulsion layer is free of the back plastic and clear plastic layers, then, following the instructions provided on the Analog Things video, you can position the delicate emulsion layer on your paper. This can be a bit fiddly and is the moment when you’re most likely to damage your emulsion layer, so take a deep breath and be zen about it.
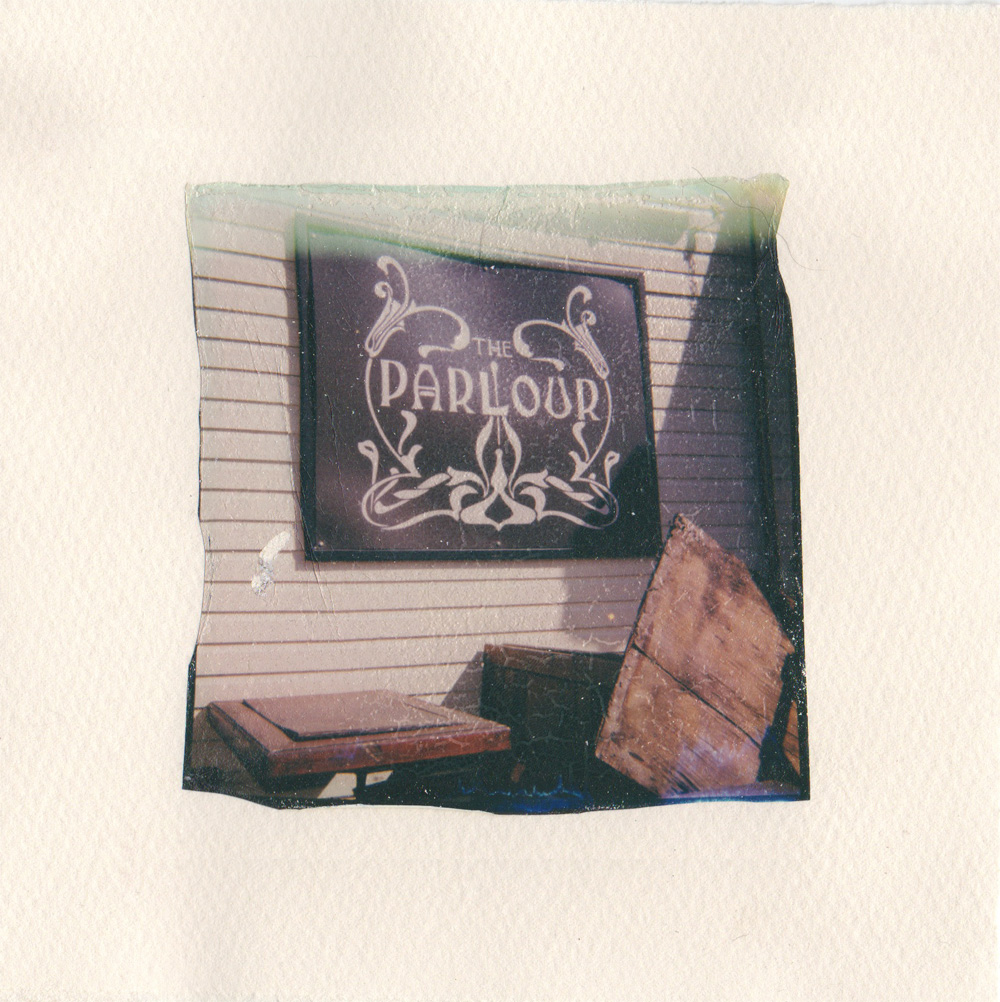
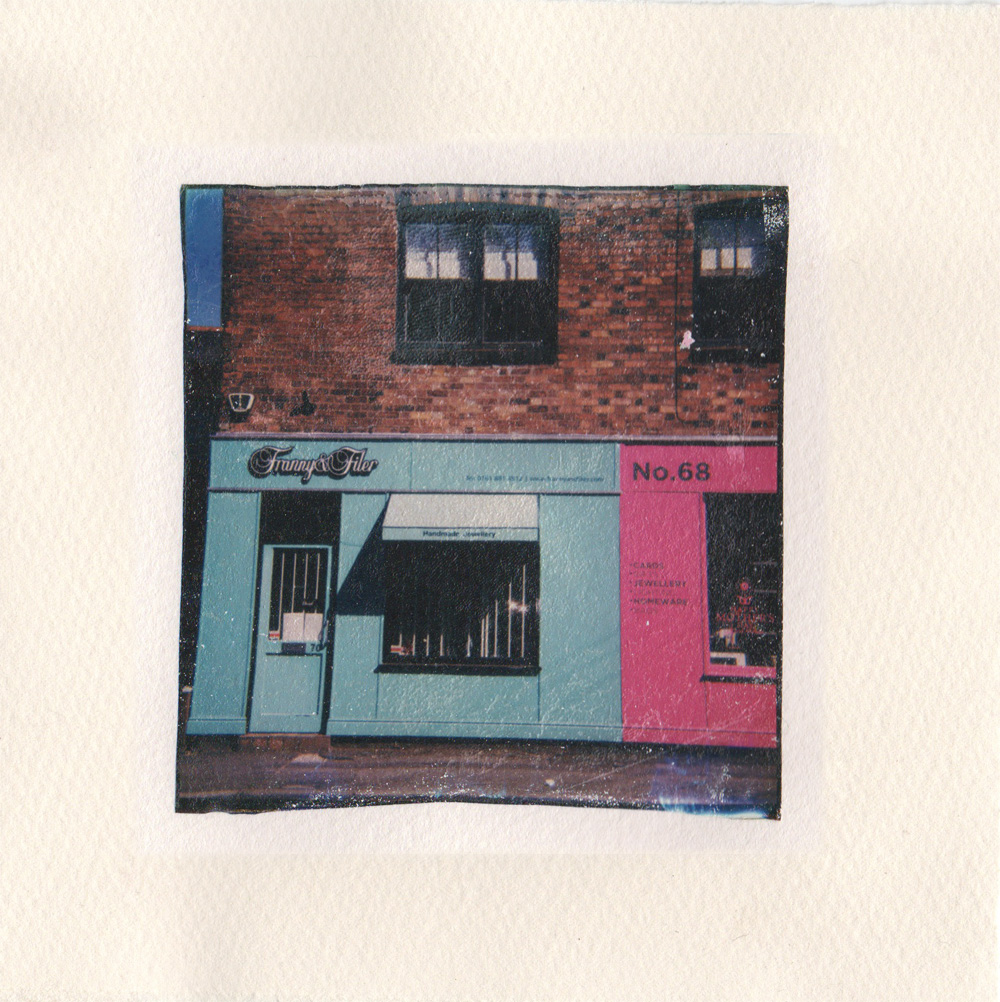
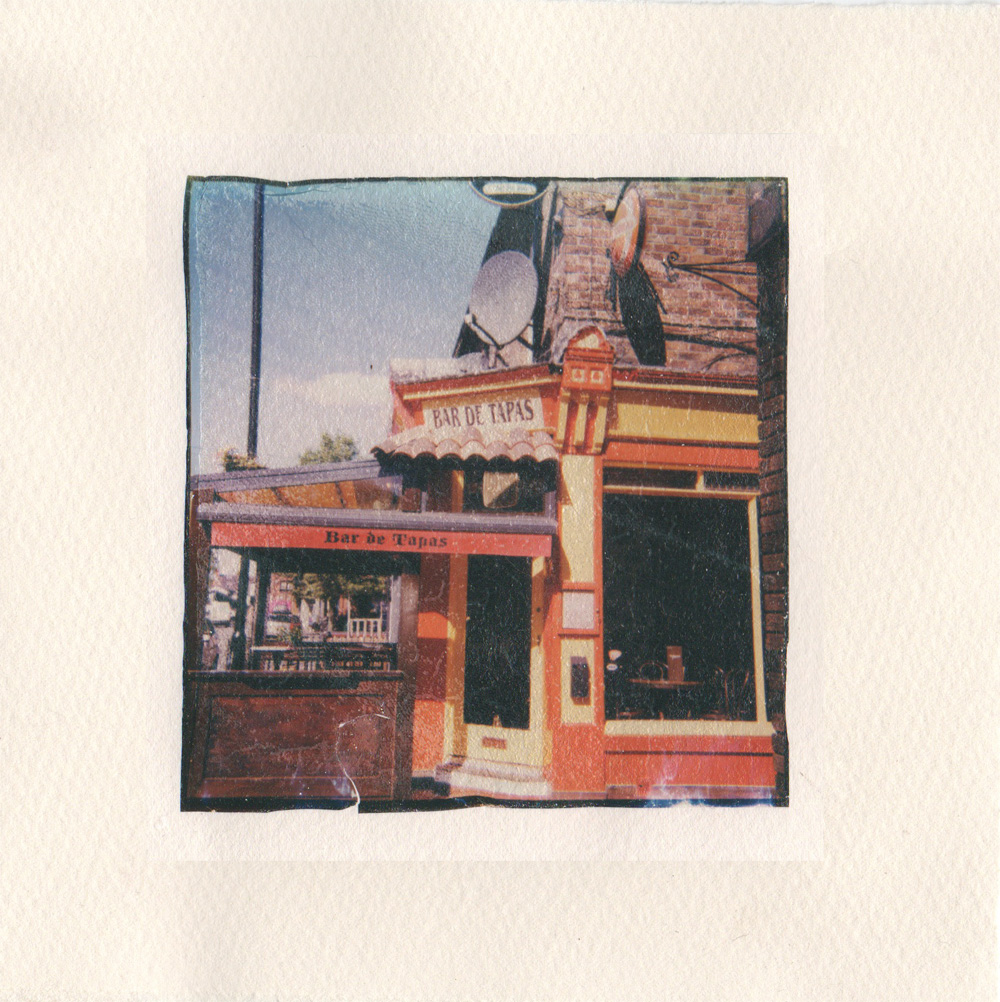
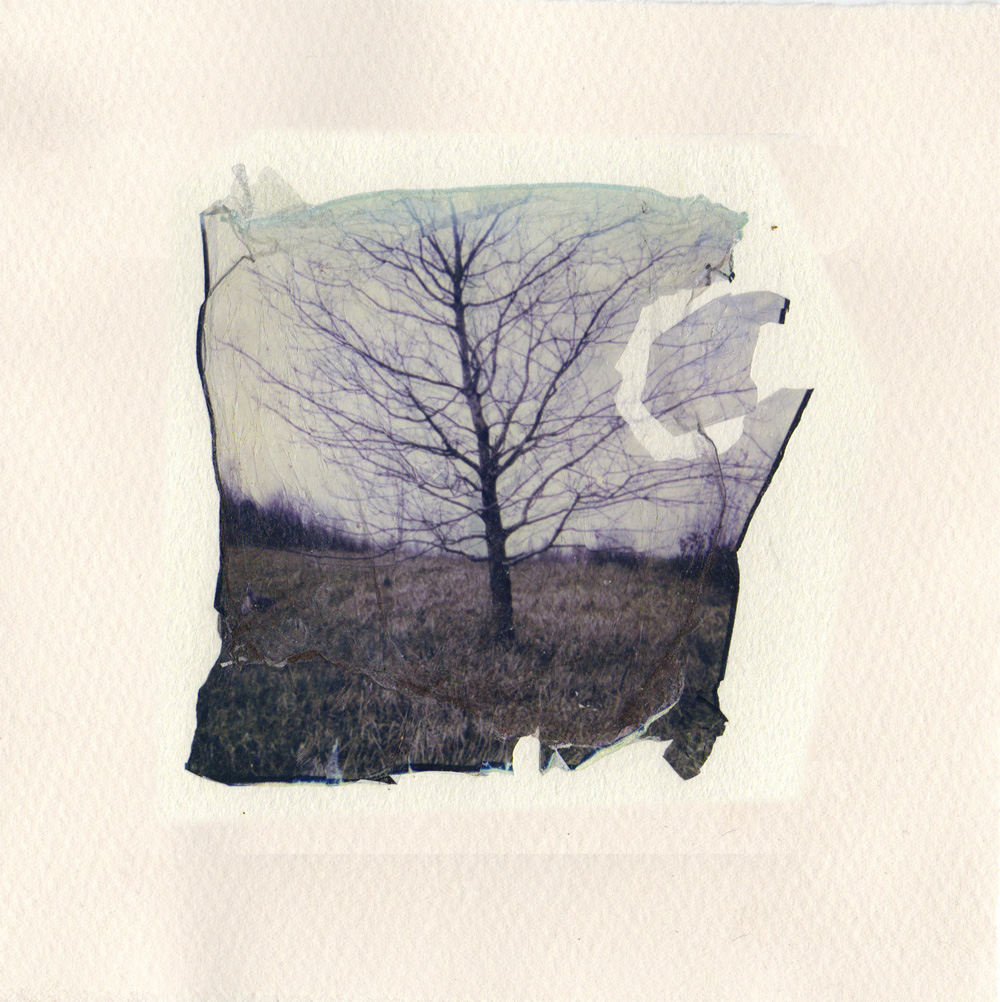
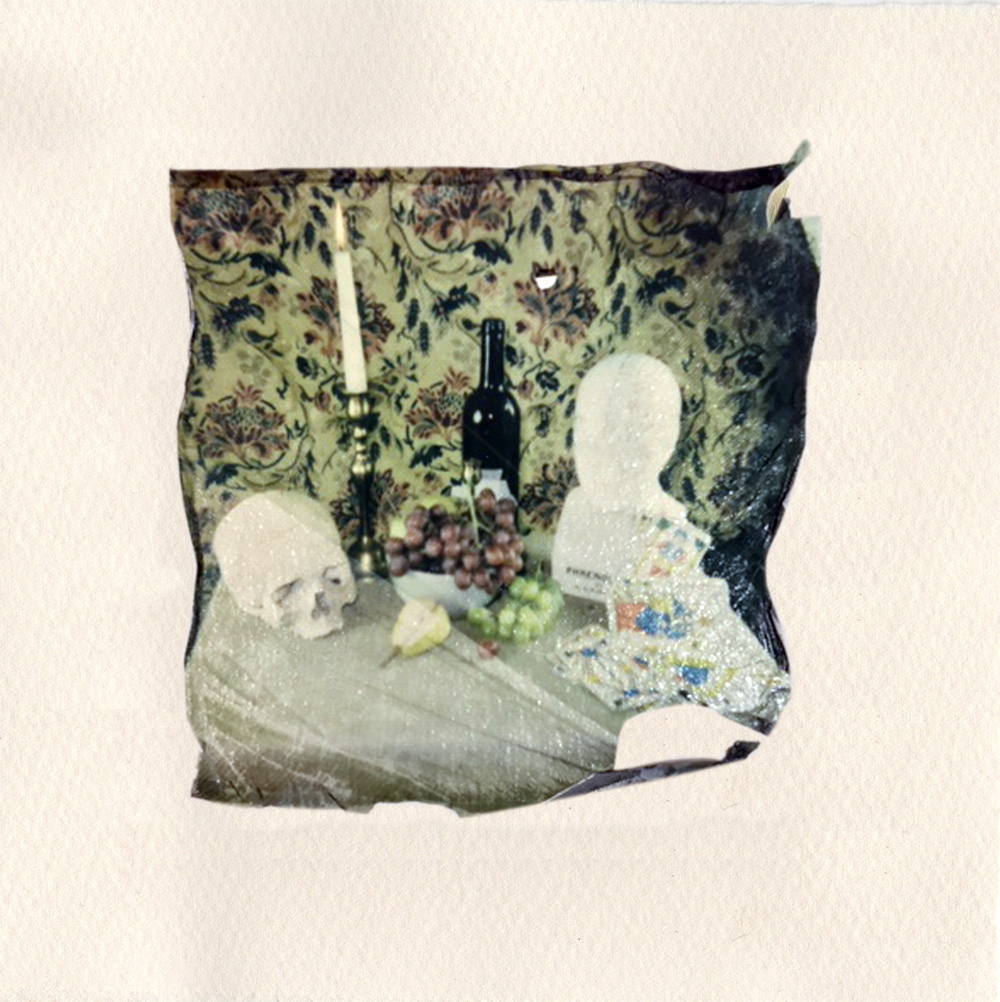
We have now made a fair few lifts and the process has come to seem much easier than it did at first. Below is a gallery of some of our finished images. We plan to teach workshops in this process in the near future. Watch this space!